背景
首先,不得不吐槽一下gitlab的官方文档,写得确实很不清楚:https://docs.gitlab.com/runner/install/kubernetes.html
我按照这个文档的步骤是没成功的,最后报错信息是
1 | 2018/11/8 上午9:57:03 Listen address not defined, session server disabled builds=0 |
原因分析
ConfigMap,我也是折腾好久才看明白官方文档的这个Note:

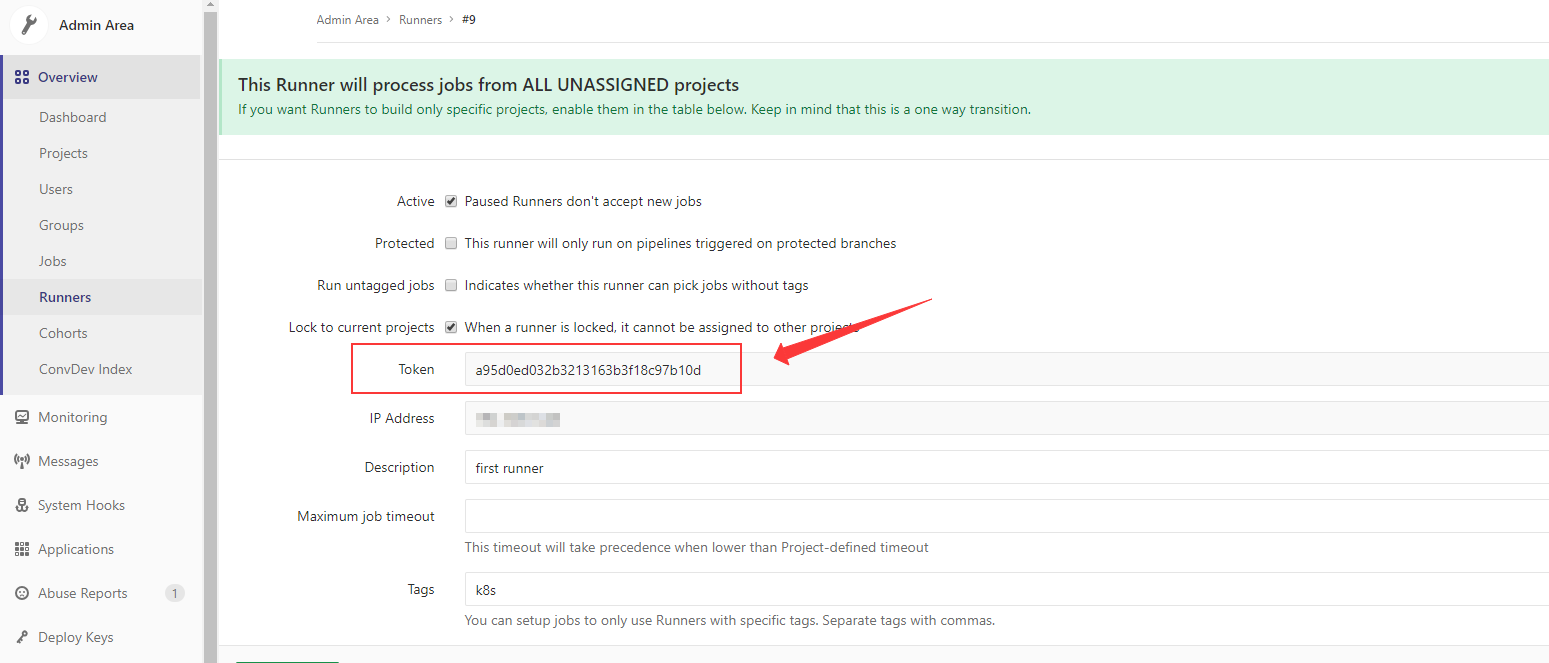
第一:这个config.toml的token是runner注册成功后生成的token(或者说是一个随机ID),并不是注册token(registration token)
第二:注册token(registration token)是什么呢?就是gitlab runners管理界面那个token
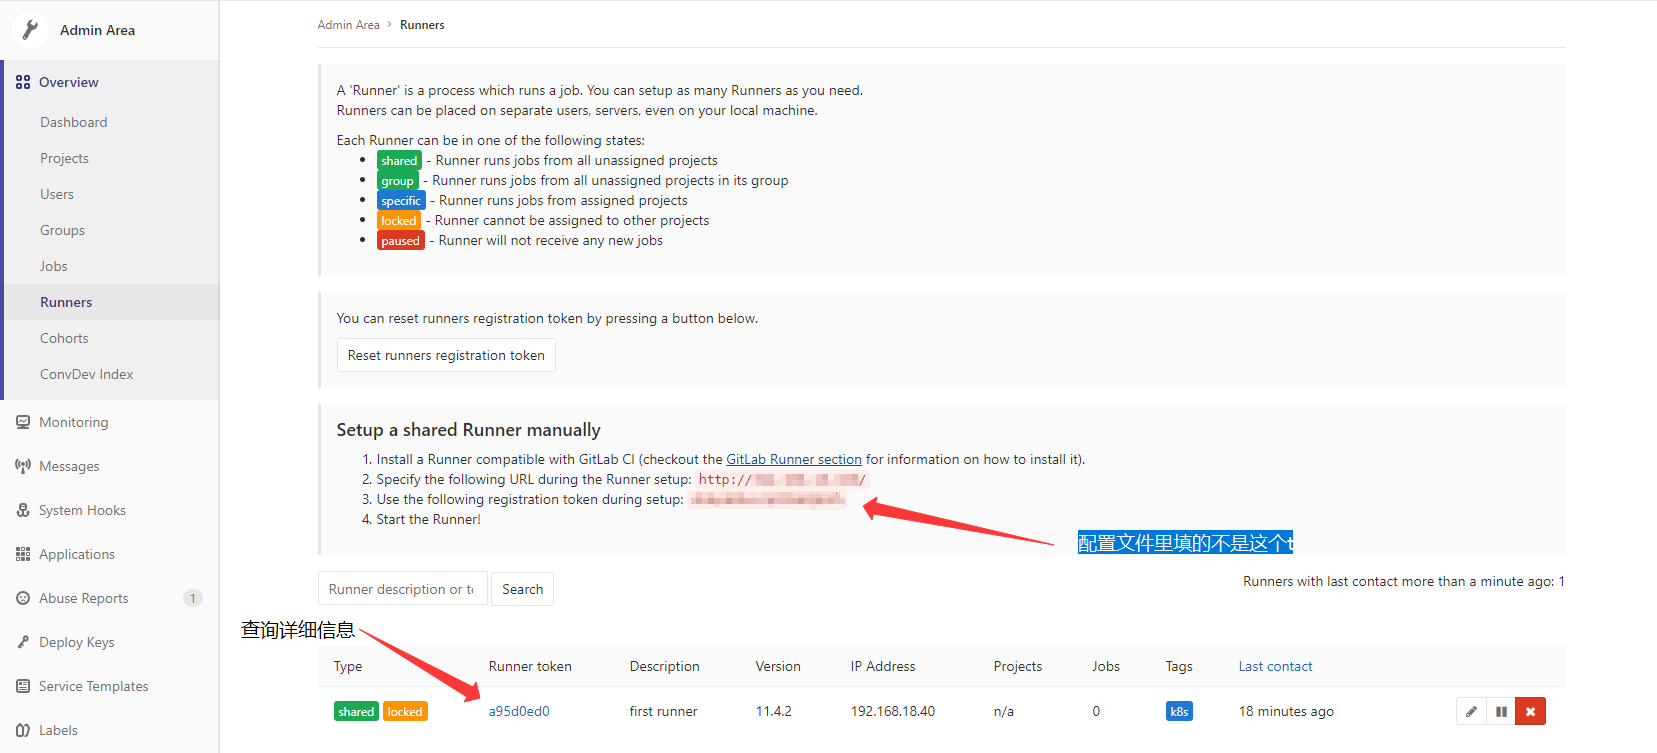
注意!我们需要的是注册好的runner的token,应该是详细信息里的这个:
解决方法
1、如果你有注册好Runner,想从原来的模式切换到k8s,那么按照官方的配置,选择正确的token是没有问题的。
2、但是!大多数情况我们是需要直接从k8s新注册runner,有些同学可能会说,直接在官方的Pod中命令行模式注册就行。我也试过,失败!原因是ConfigMap挂载到容器的config.toml文件是只读的,在容器内gitlab-ci-multi-runner register填的参数无法生效。以下是我的方法,简单来说就是:不挂载ConfigMap,手动register。
步骤
我用的是Rancher做集群管理,所以操作都是在Rancher的控制台
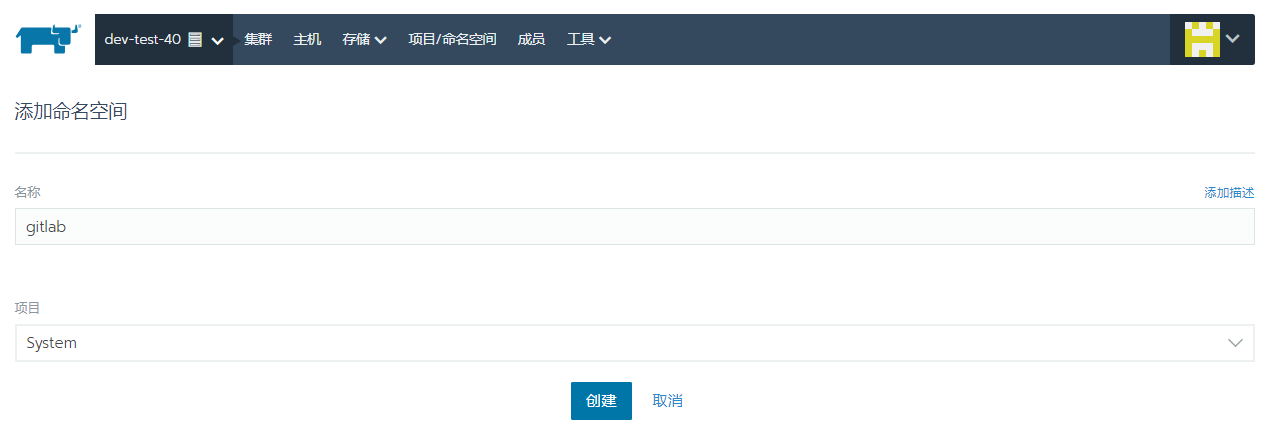
创建namespace
选择集群->项目/命名空间->项目System->添加命名空间
部署gitlab-runner服务
项目System->工作负载->导入YAML

1 | apiVersion: extensions/v1beta1 |
几分钟后工作空间就会完成部署
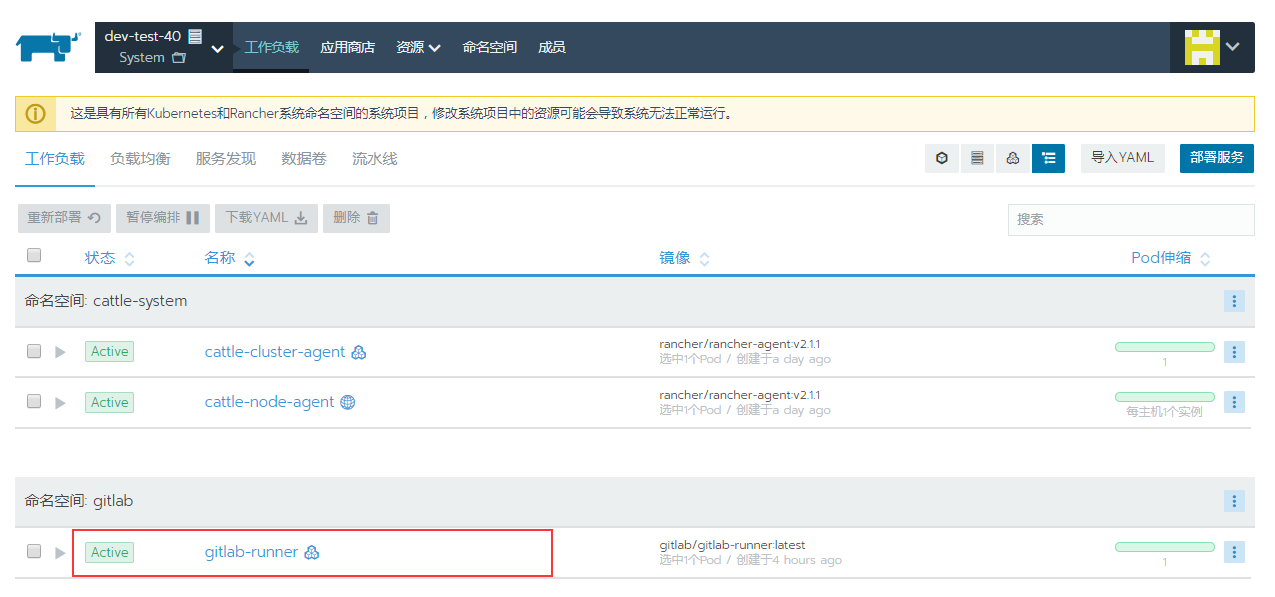
注册激活gitlab-runner
直接通过Rancher进入Pod的命令行
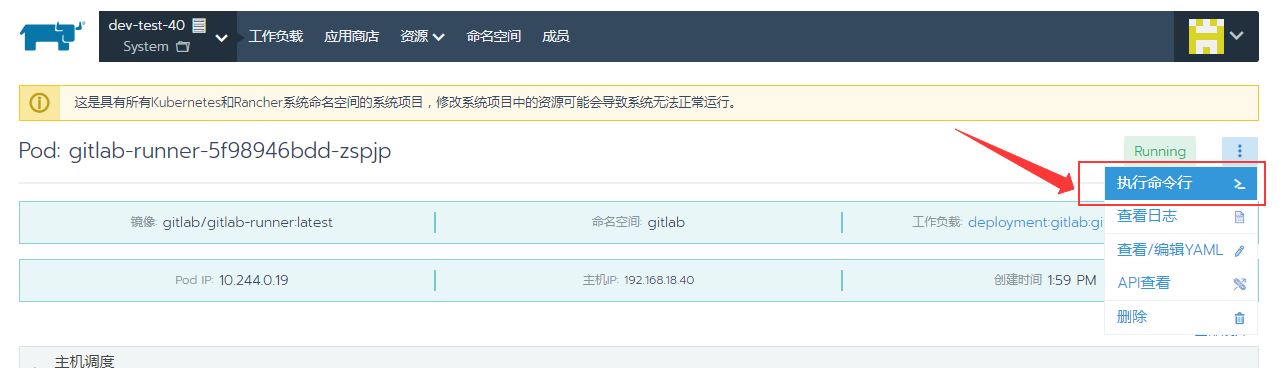
1 | /# gitlab-ci-multi-runner register |
确认注册成功
注册并激活成功后会在gitlab控制台runner列表显示出来,而且Last contact会显示上次通信时间,如果没有请检查网络防火墙之类的